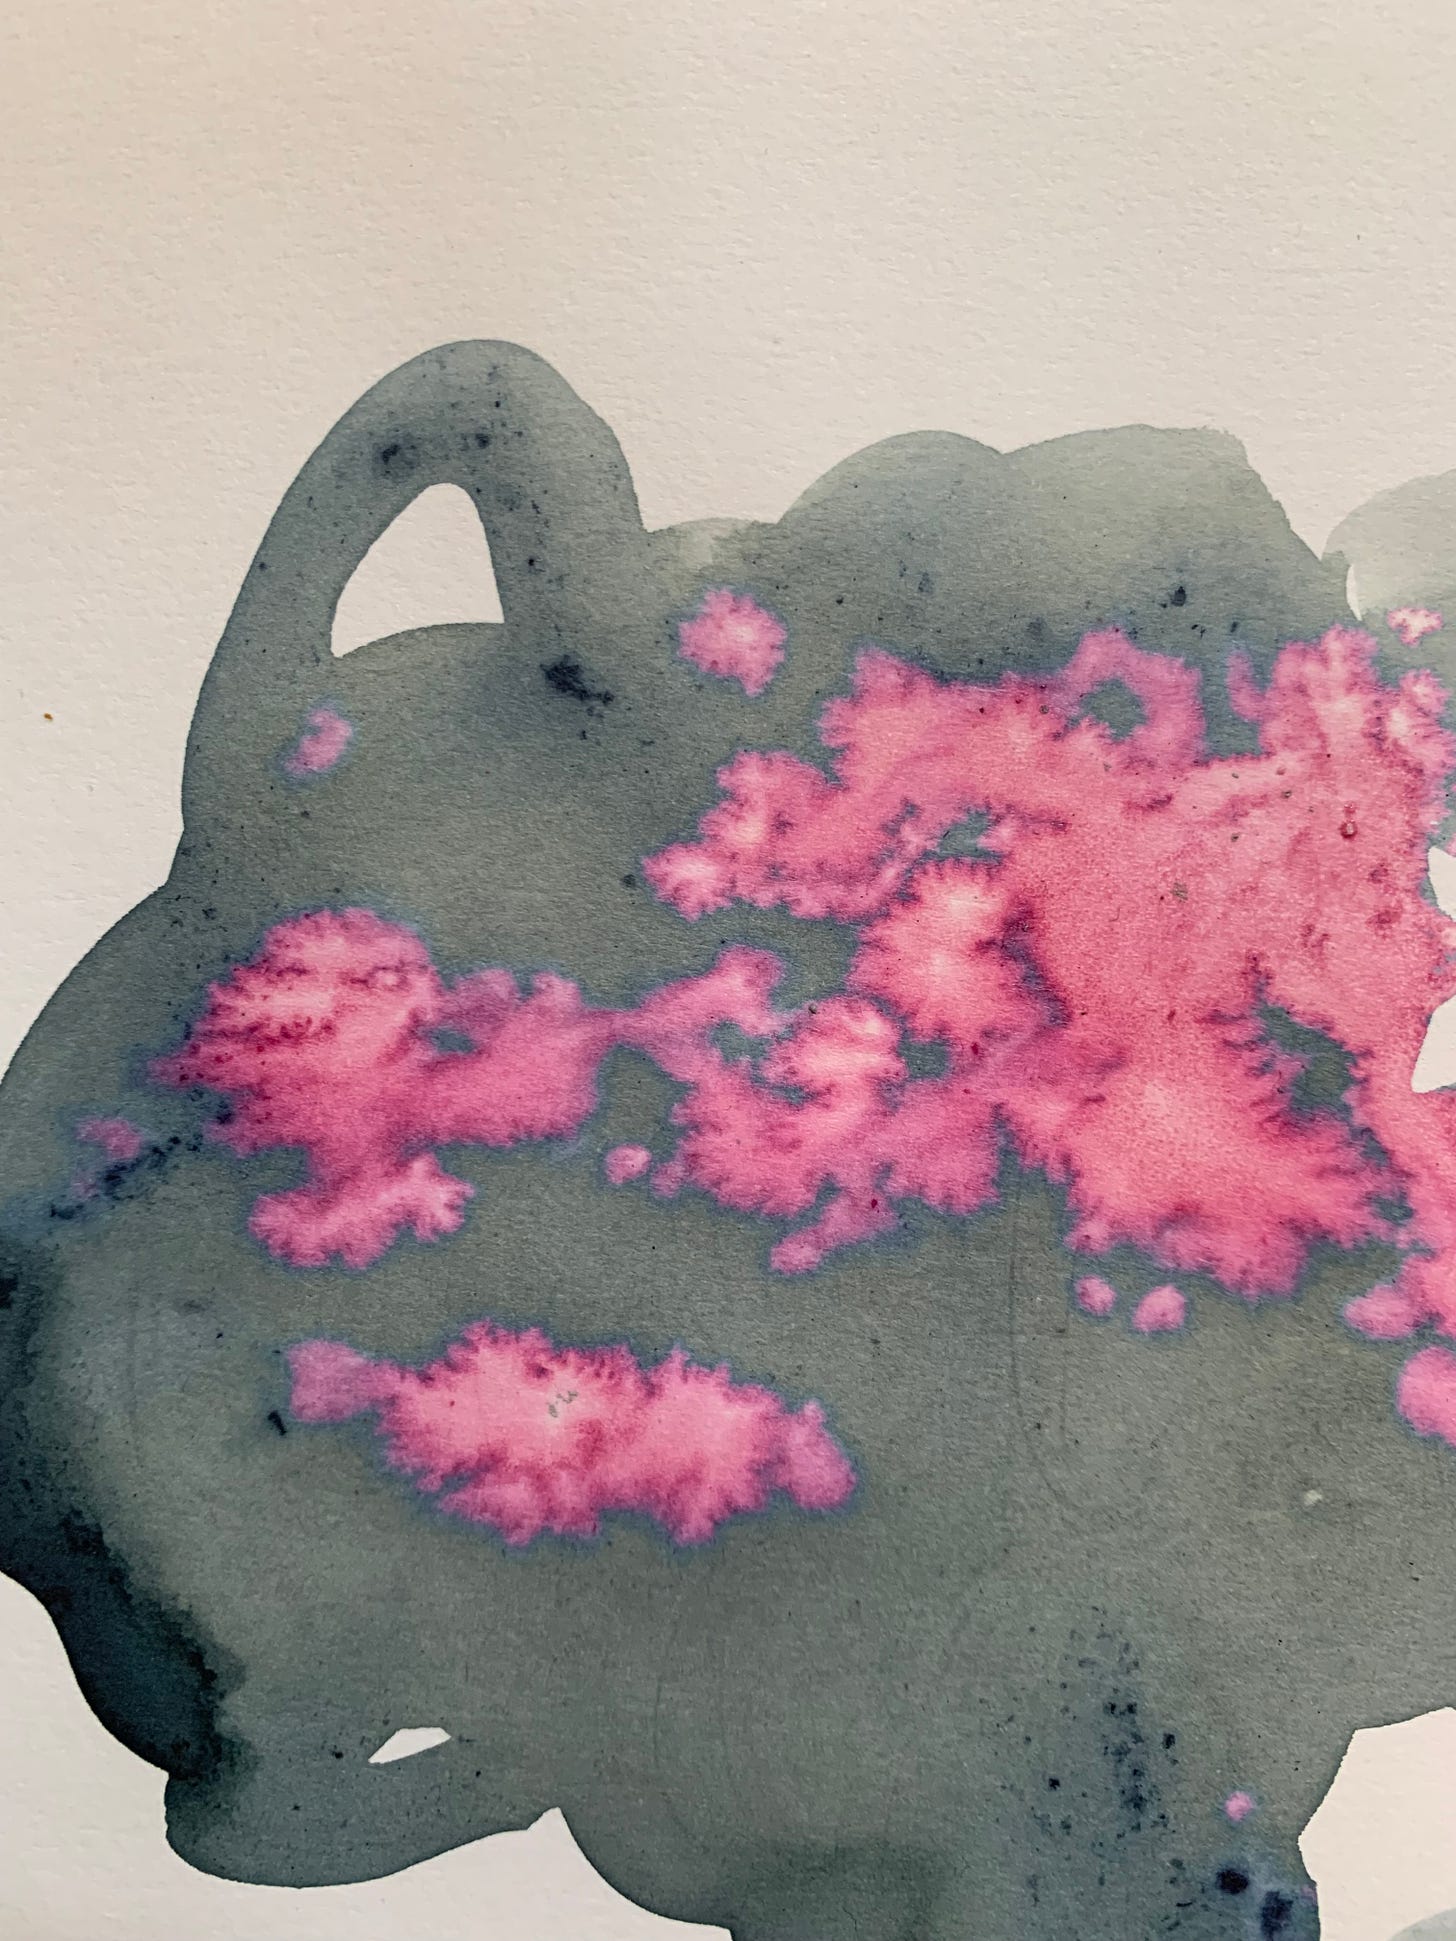
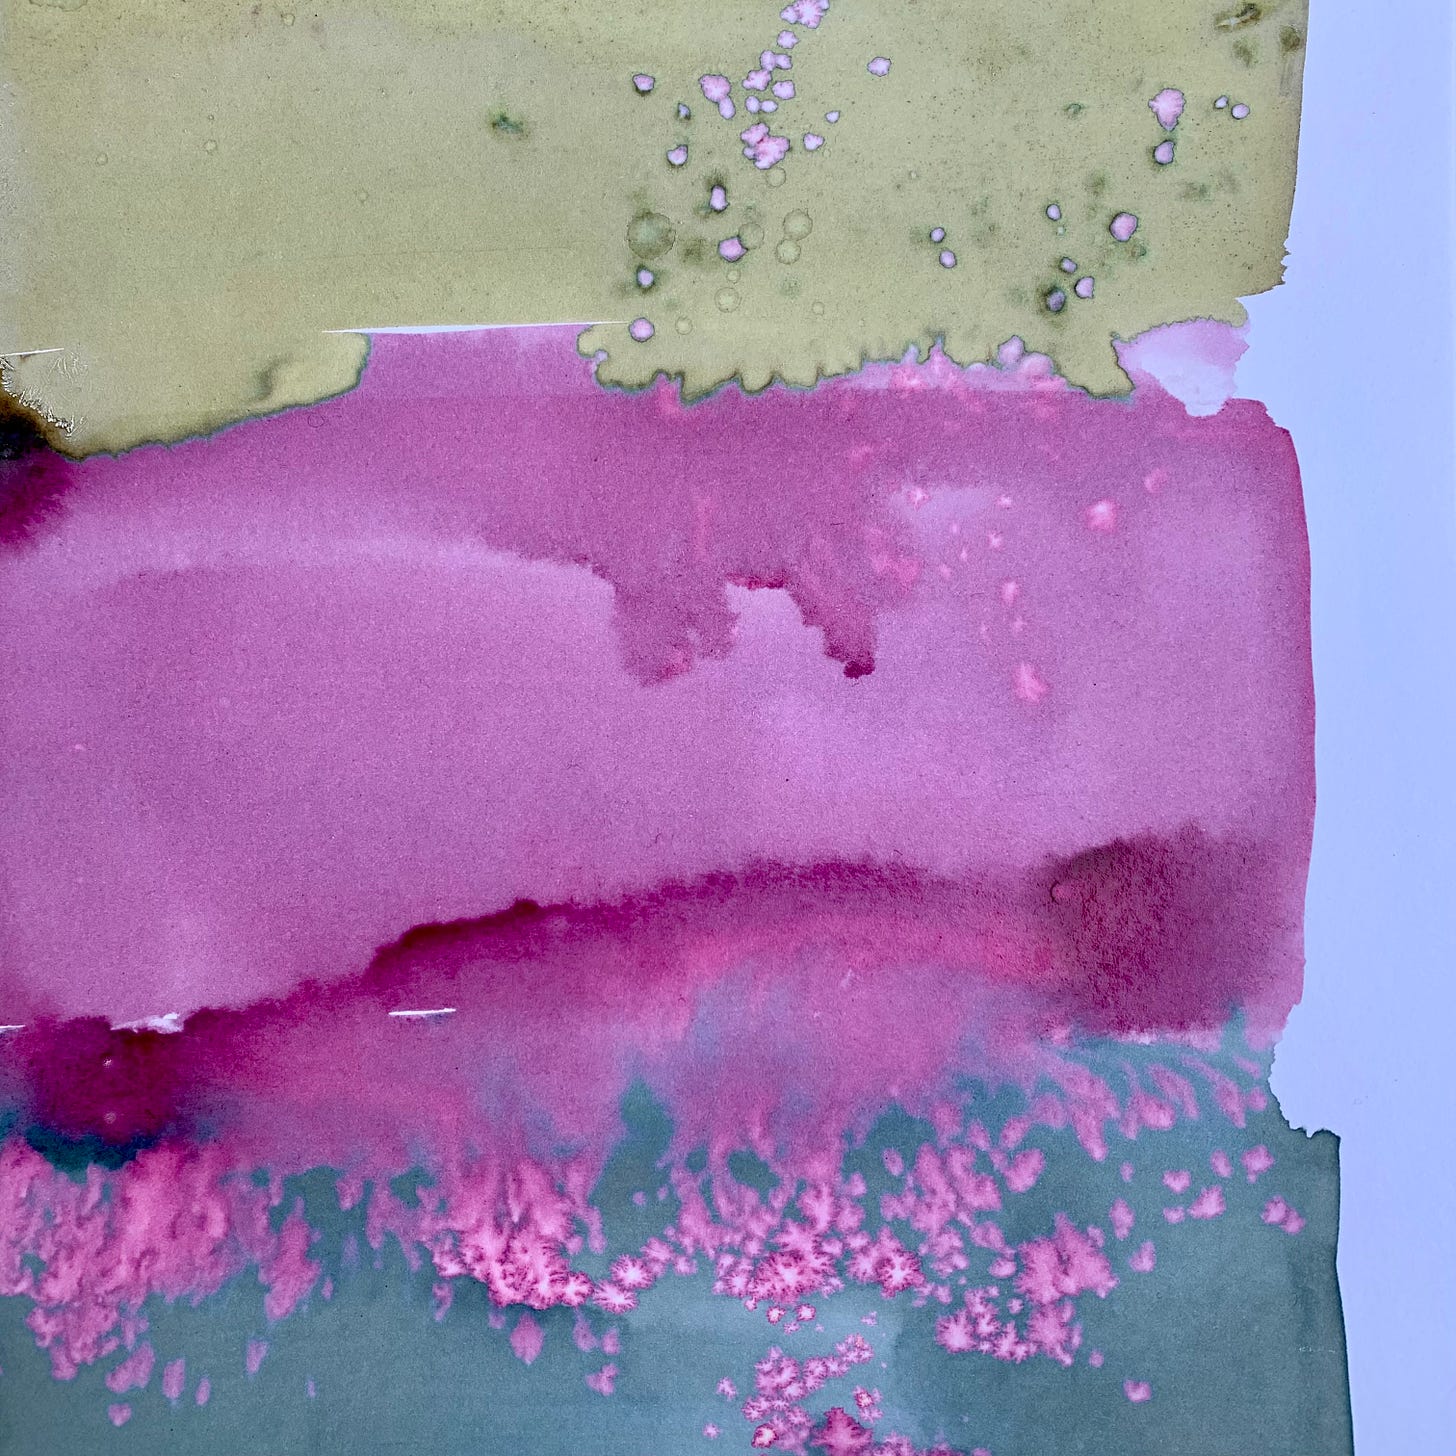
Mahonia Ink Recipe + The Delight of Colour Community.
Aldi car park abundance, stained fingers + connecting with colour.
Inkling:
(noun) a slight knowledge or suspicion; a hint. From the Middle English 'inkle' meaning to utter in an undertone.
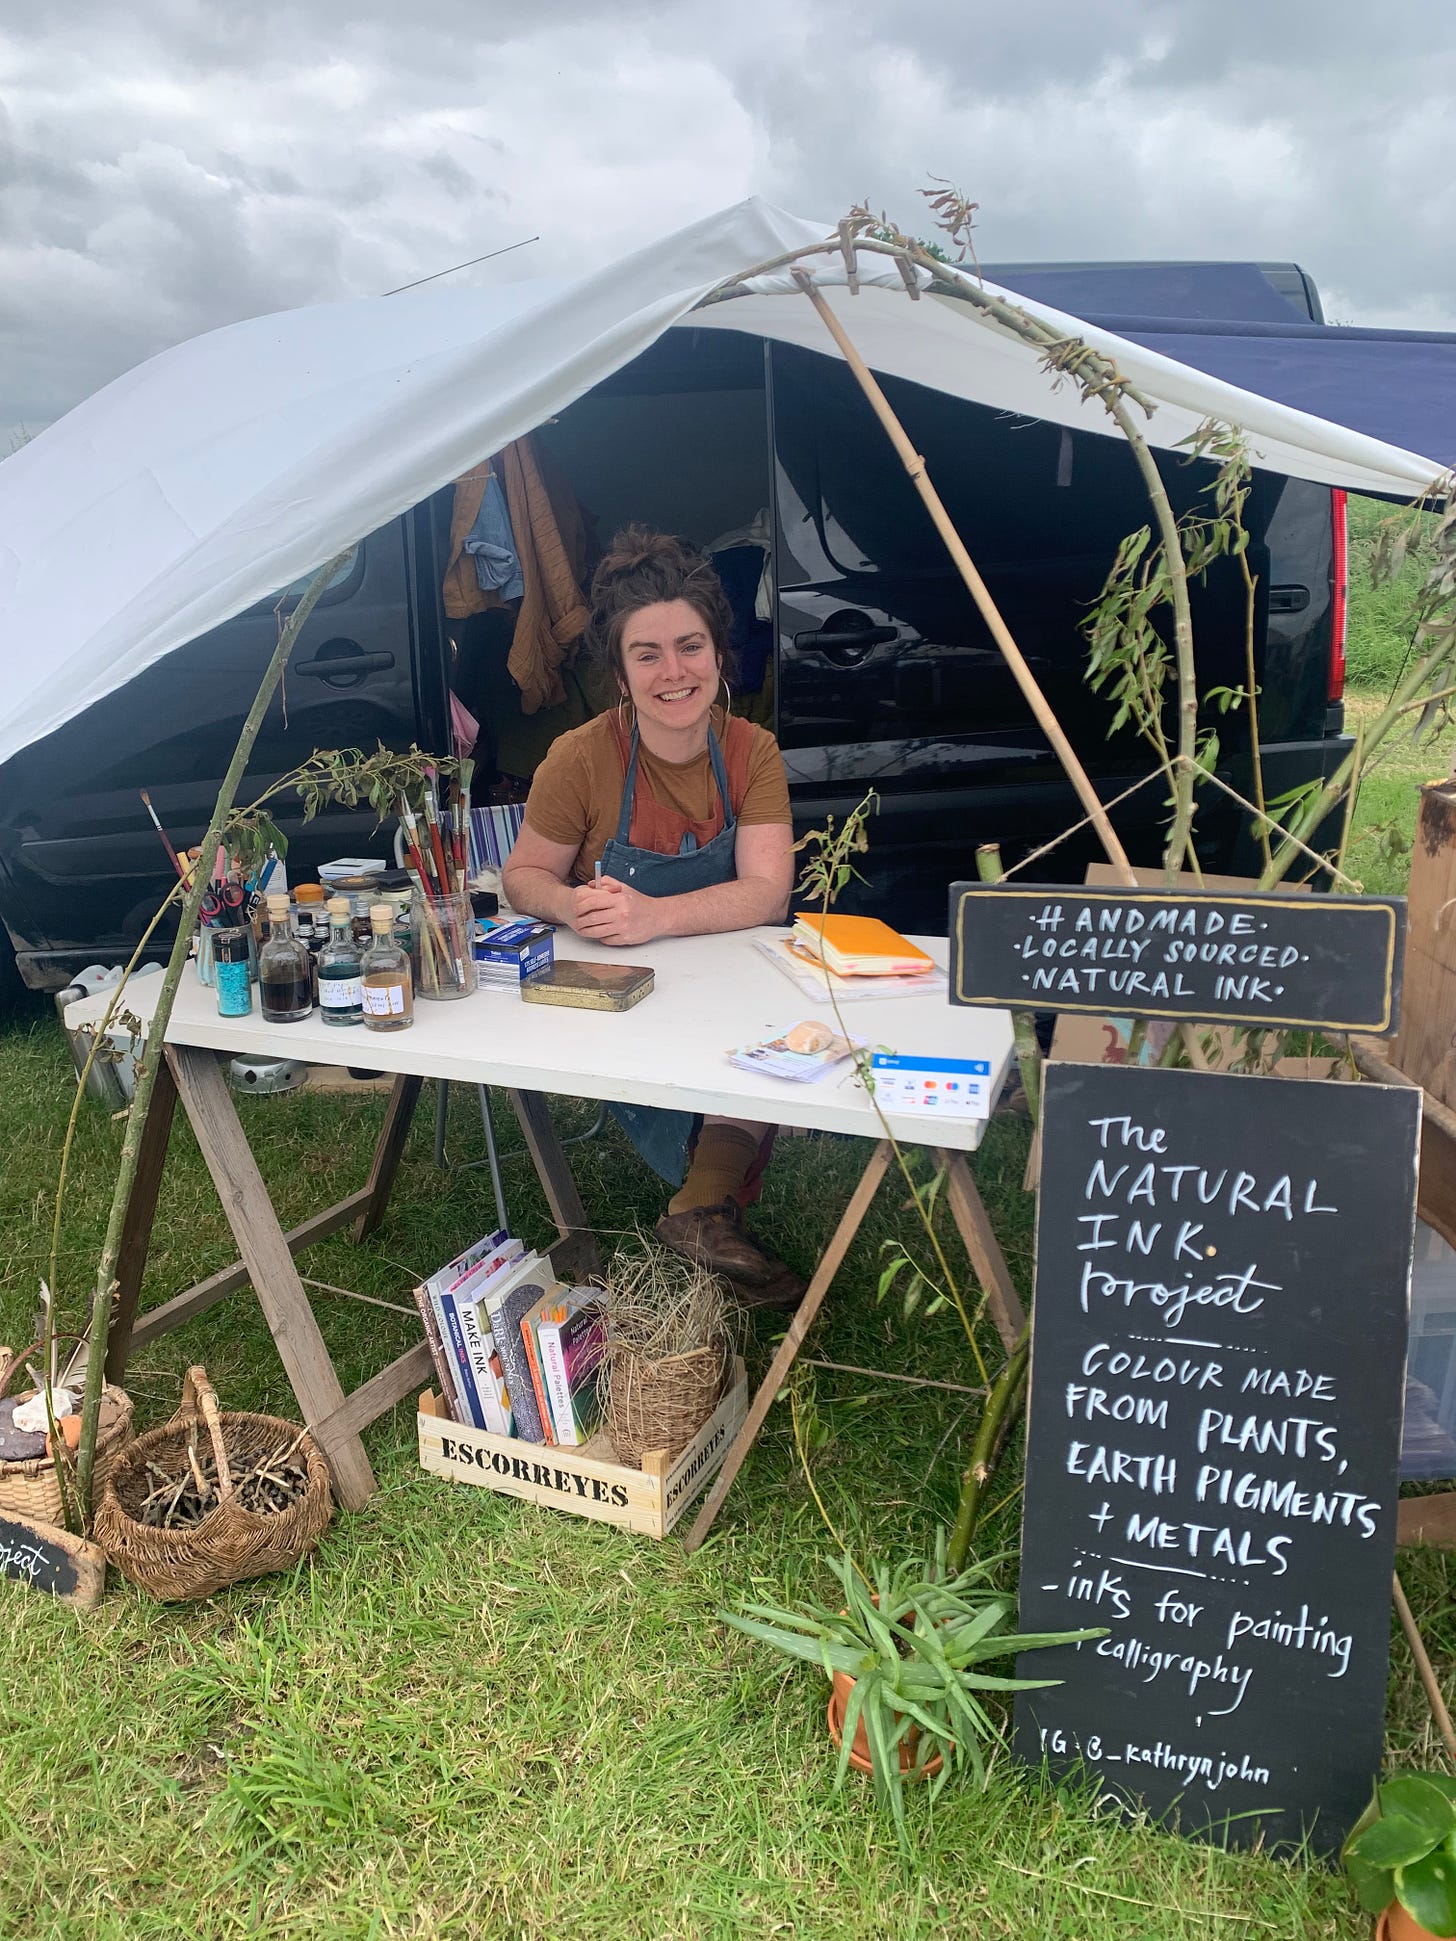
What a delight it was to spend last weekend in my little colour den at this year’s Green Scythe Fair.
Thank you to everyone who came by and said hello, got stuck into a good chat, picked up a card, offered supportive words and bought a bottle of ink. Friends old and newly made.
My voice was pleasantly strained after eight or so hours of ink conversations!
I came away with two pages in my notebook chocka with scrawled tidbits of ink, colour, paint and plant information that folks shared with me over the weekend. All ready to be researched in the coming weeks.
Feeling delightfully bolstered and nourished, and after a day catching up on sleep yesterday, I am here to share an ink-making recipe for Mahonia Berries. At last! Hurrah! So bookmark this email, head off and gather 1-2 handfuls of these beauties (more notes on the practice of gathering below) or head to your freezer and take out your bag of berries, and let’s begin.
MAHOOOOOONIA
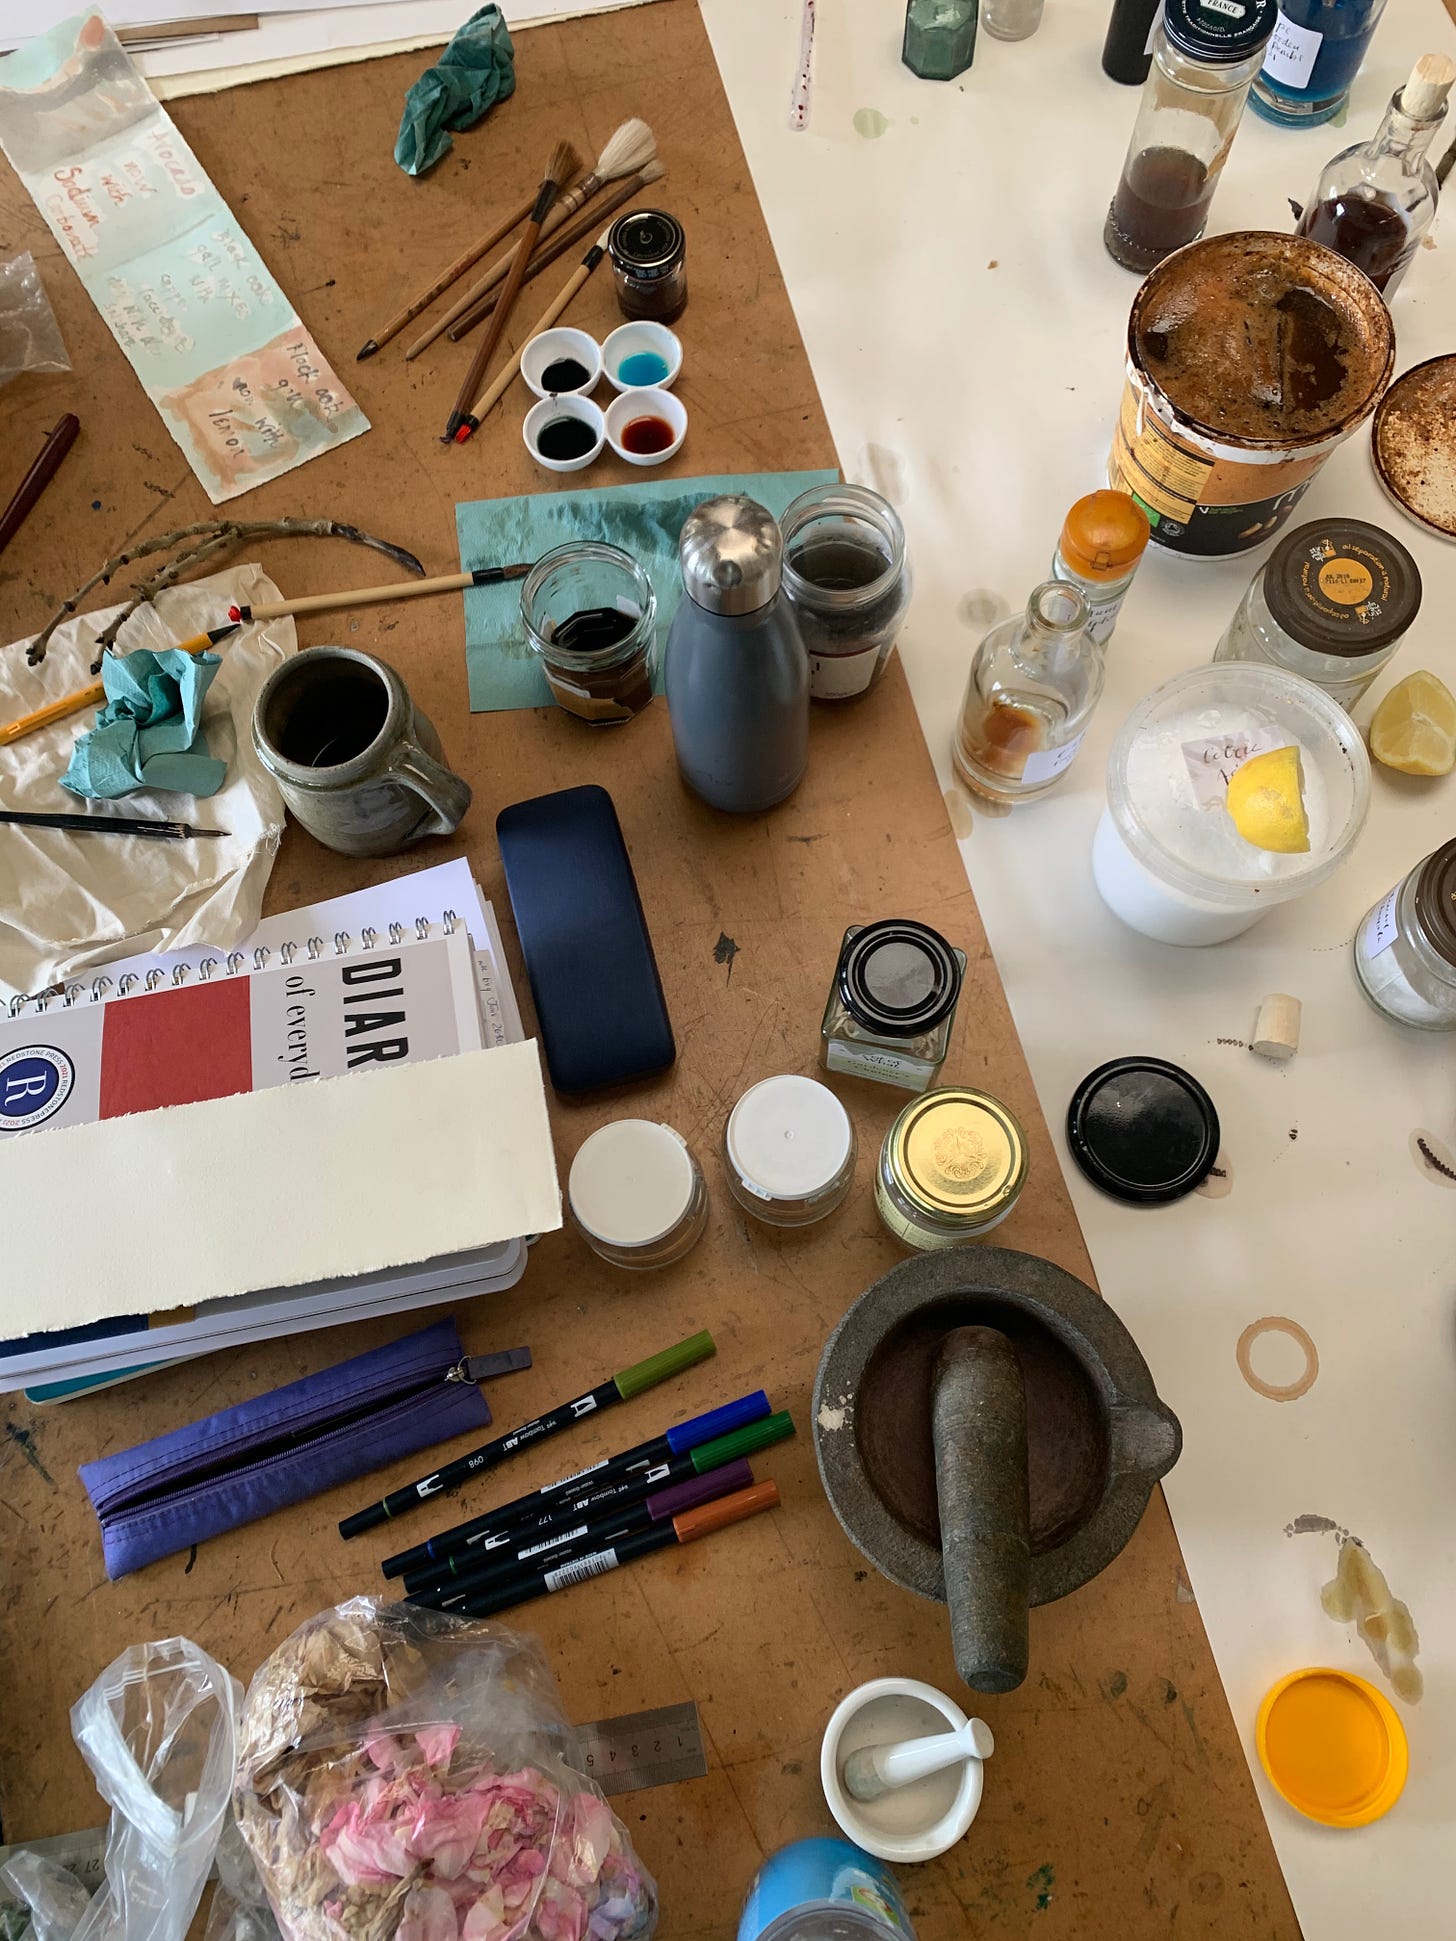
You will need:
1-2 handfuls of Mahonia Berries
A small stainless steel pan - Although Mahonia Berries are edible, I advise you set aside a pan or two especially for your ink making. It is good practice to not contaminate food pans and to keep yourself safe
A sieve
A pestle + mortar (again, recommended for purely ink/paint making use), or your bare hands will do!
Muslin, an old sock or pair of tights will work well
A glass jar or bottle. Brown glass is ideal but not essential (old marmite bottles work well)
A heat source - hob, log burner or open fire. Although this is not essential (see below)
Clear vinegar
Salt
A few cloves
Gum arabic is the most traditionally used water-based paint and ink binder and can be bought in liquid, powder or crystal form from art supply stores.
For added alchemy:
Lemon juice (or any other form of citric acid)
Baking soda (or Borax substitute)
Rusty iron bits from the shed or the street.
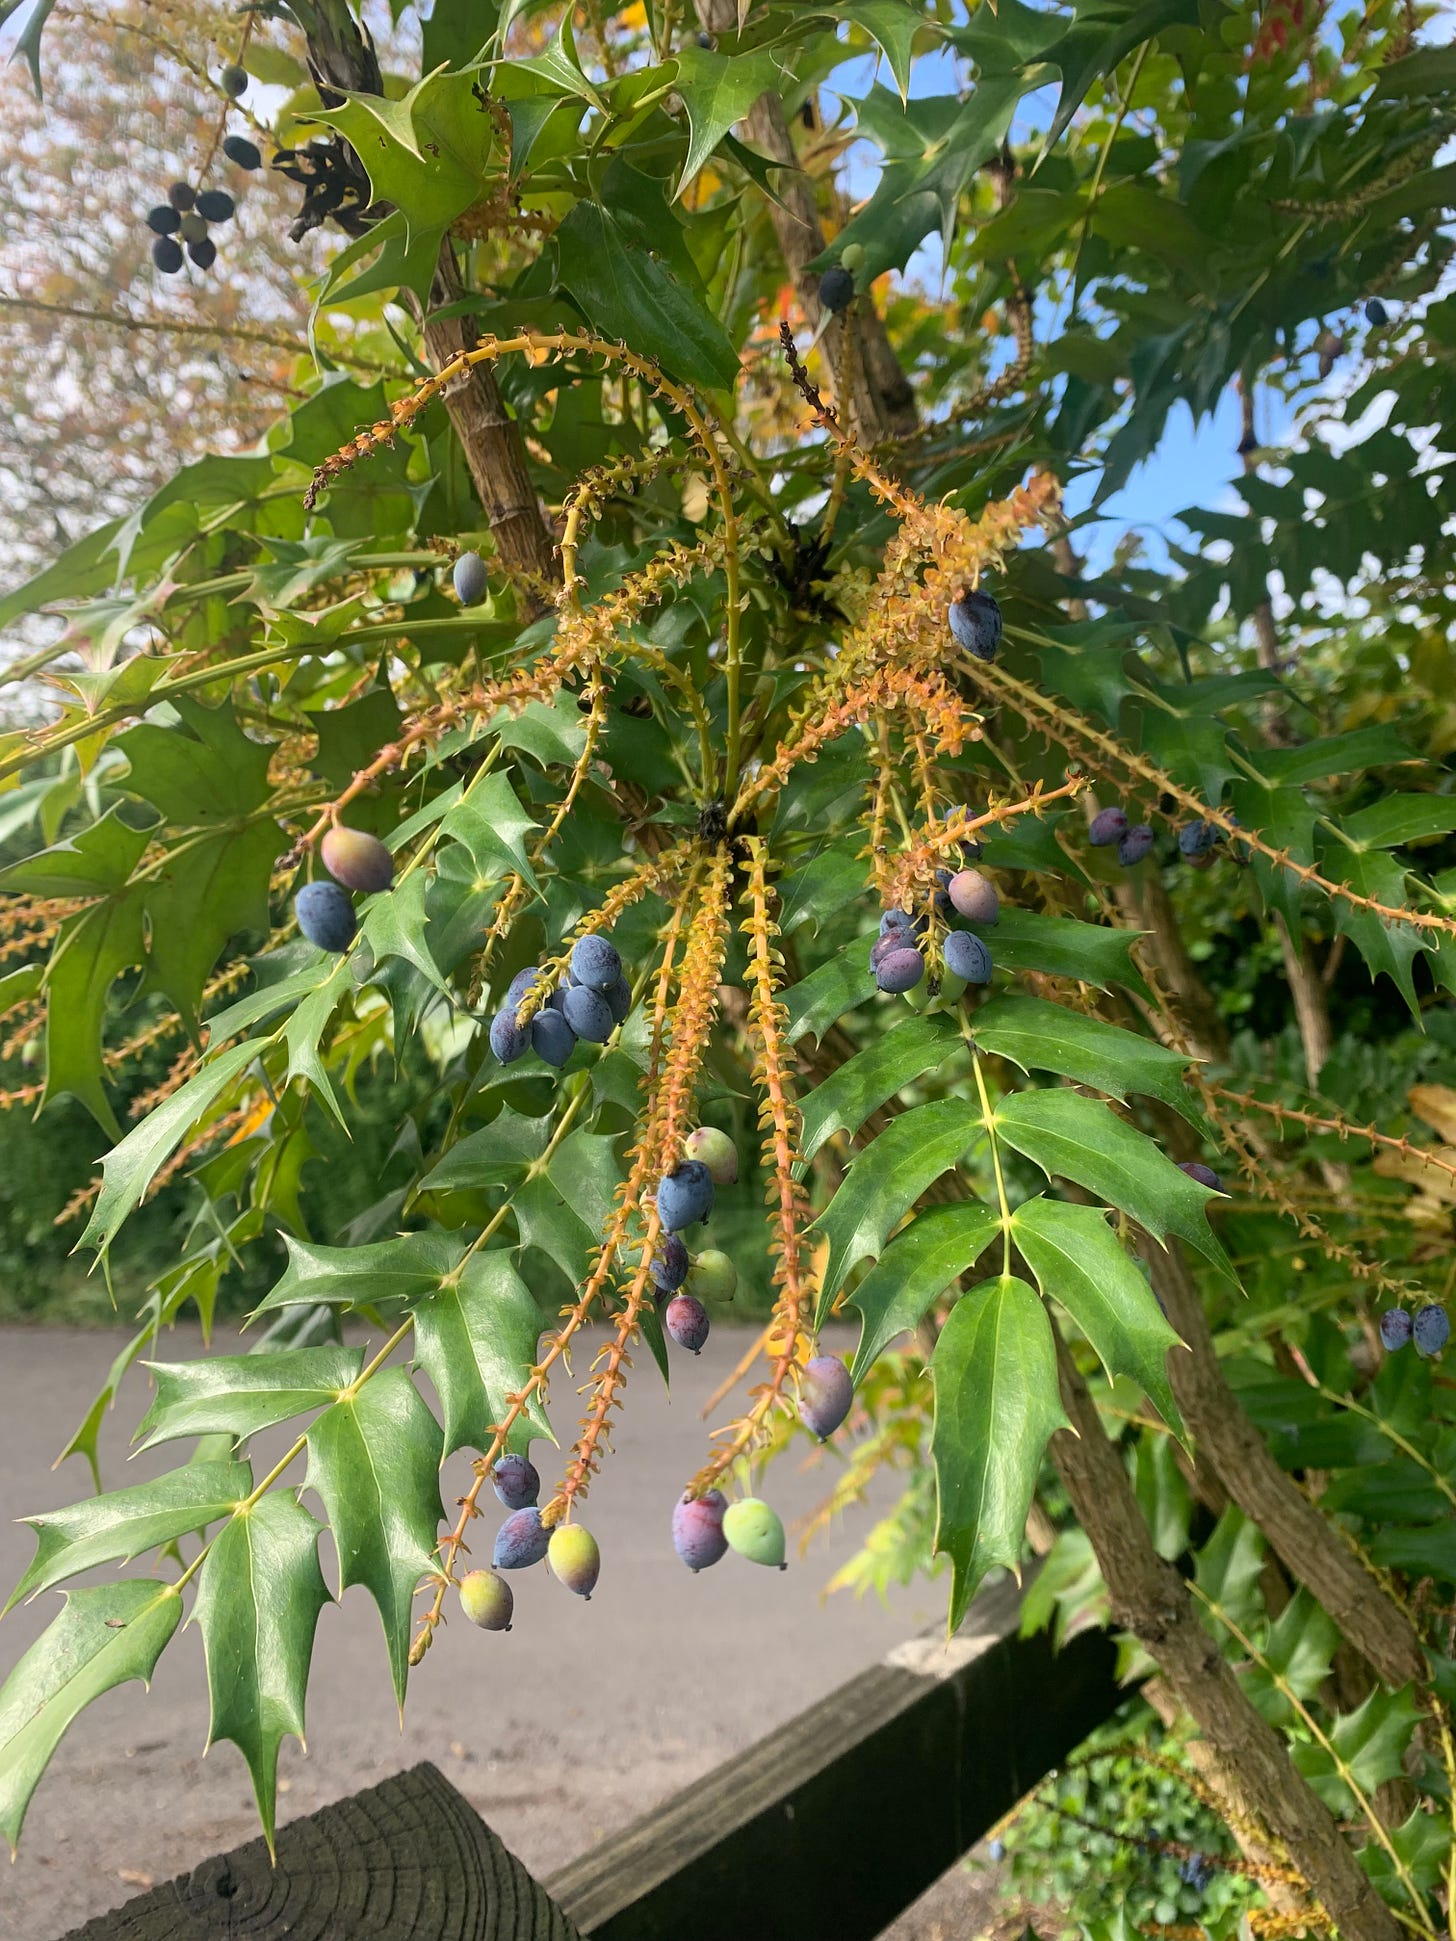
According to some light internet research, there are a whole host of Mahonia varieties, and it is disputed among botanists whether it is a member of the Berberis family, but we shan’t get too bogged down in such things. Below is a photo-led step-by-step guide to making colour with these fabulous, non-toxic berries.
I was introduced to this plant by the splendid Cat Colourfield a number of years ago. Soon after this sweet introduction I came across a bush in Swansea city centre and gathered a few berries.
Returning home I popped them in the ink pot and on the hob, and then proceeded to wander off for a little too long and returned to the smell of very burnt berries and pan.
Oh dear… And also ah ha! A right of passage as an ink maker.
The learning that a) a good handful or two of precious raw materials is key (with the caveat that this depends on what the raw material is and how you are processing, but I won’t go into that right now), otherwise you won’t have enough to really play with and b) working with small pans*, especially set aside for ink making, is a good practice. c) keep an eye on your ink pot when on the hob!
*Pan sizes: You can keep them small. Your gravy/milk/beurre noisette (?!) sized pans are ideal. The larger your pan, the more material you need to use to cover with water and avoid burning, which means making a lot more unneeded ink which is likely to go to waste. A little bottle of ink goes a long way, and you can always make more fresh ink when needed if you store your raw materials in the freezer, or dry them.
These berries are much loved by the birds so leaving plenty for them is key.
First ink making note is to gather what you need and no more. This is a bit of trial and error, as we are programmed for scarcity as humans, but you will find your rhythm with practice.
I gathered my Mahonia berries from an Aldi’s car park. After my first disappointment with making Mahonia ink I have since saved the location of various bushes I have come across on my phone’s Map app. I HIGHLY recommend doing this. For any plants you find.
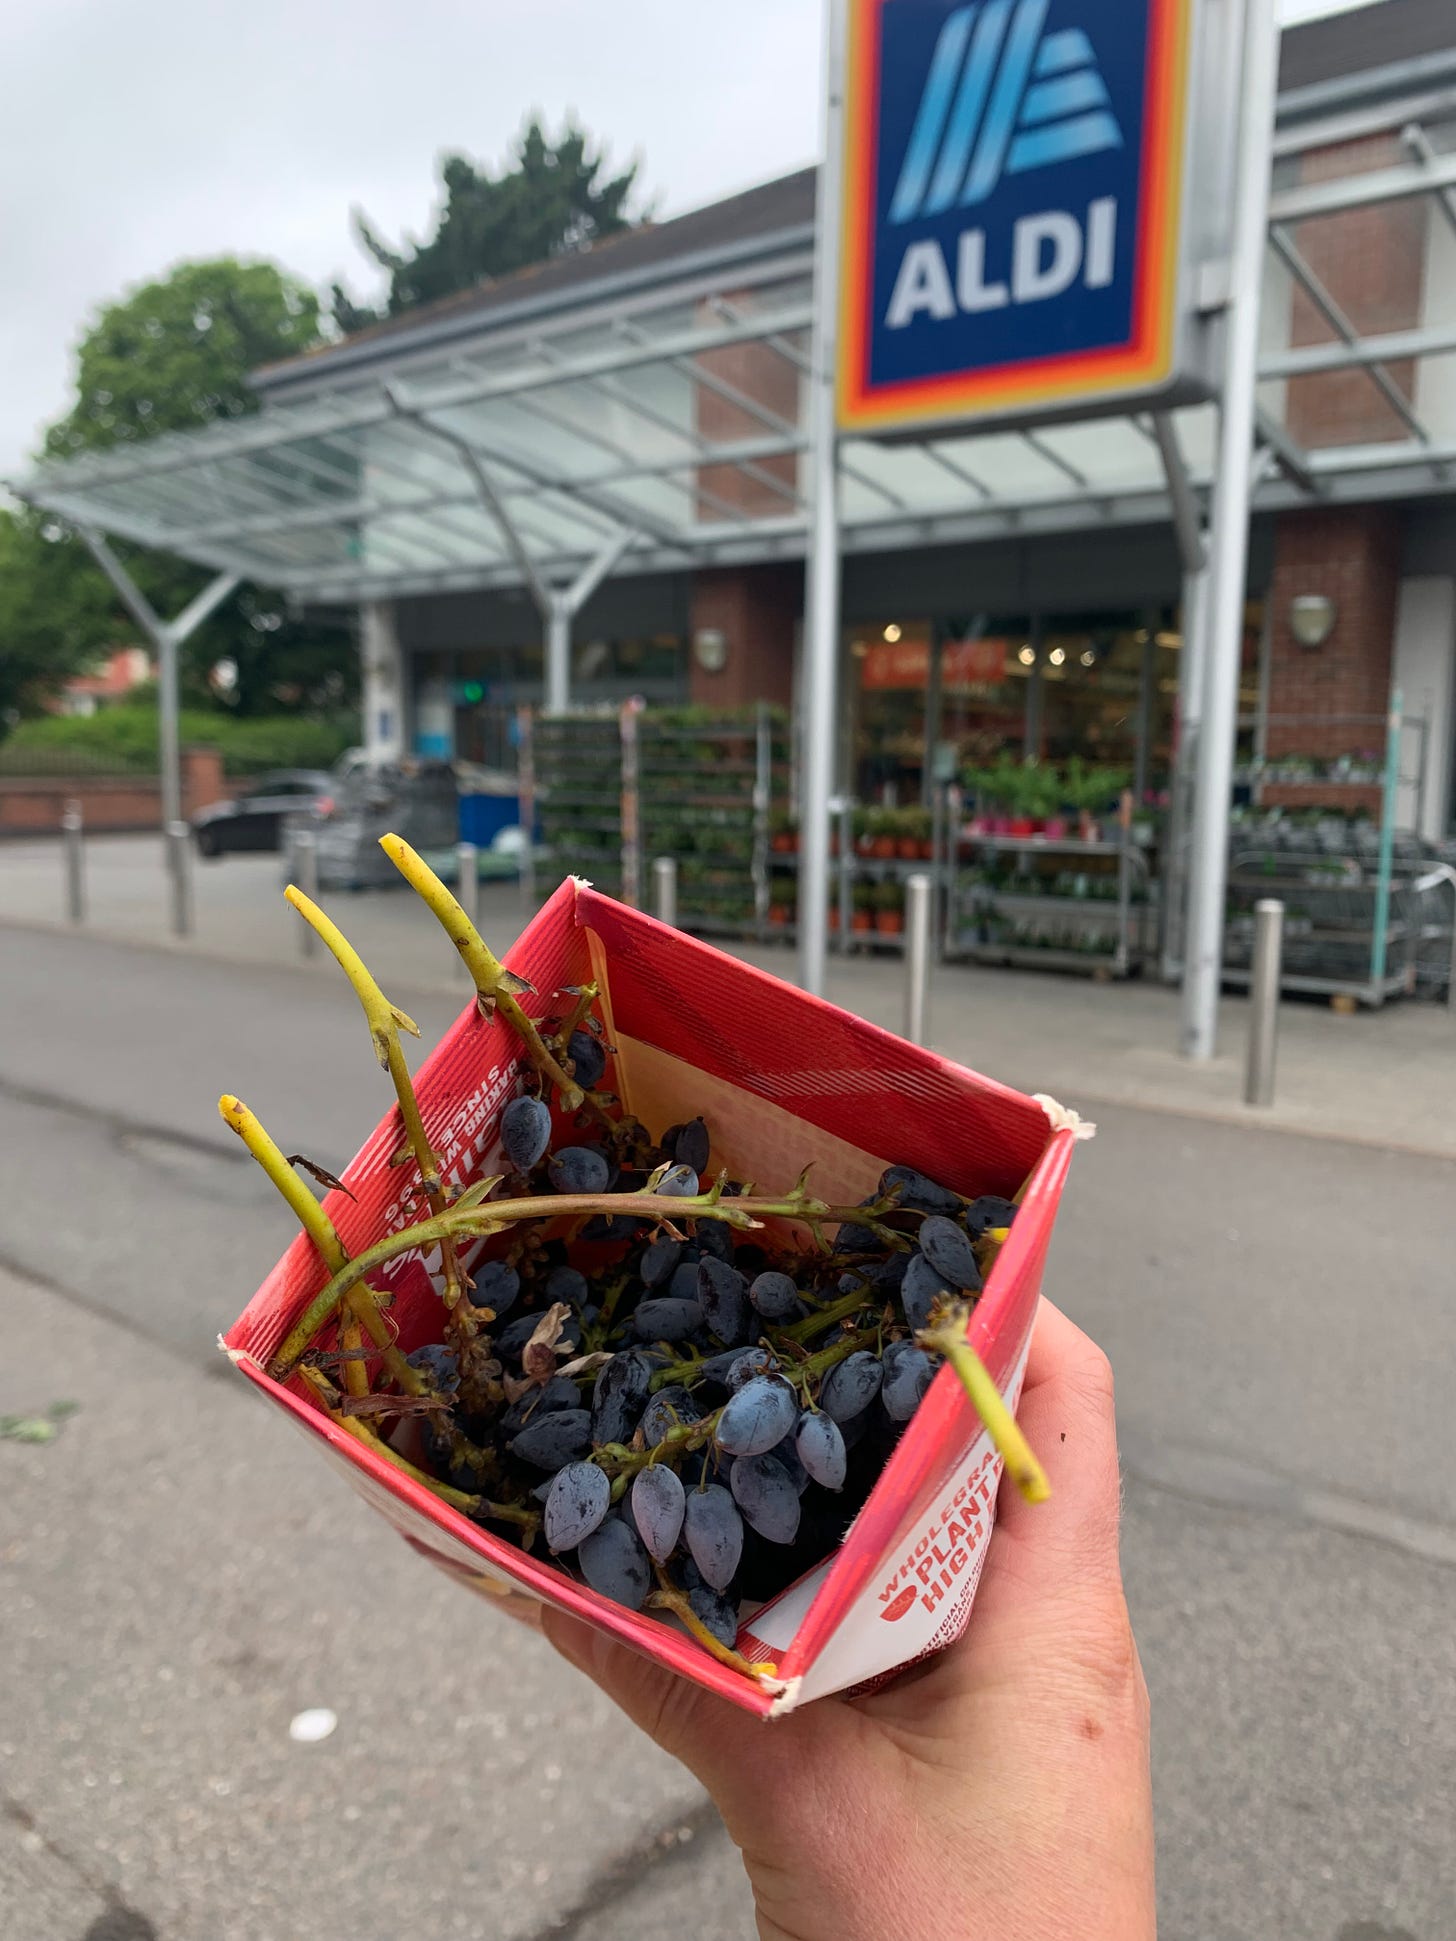
I often encounter plants and trees I would like to work with out of the fruiting season and forget where I have spotted them. This way I can prepare myself for gathering a few from various places when the berries are ripe. The Mahonia in Aldi’s car parks (I think they may well feature in many of the store’s car parking spots) are resplendent with berries as, I imagine, the busy population of humans and vehicles here put the birds off. Or, sadly, there just aren’t as many birds about in the city.
The Mahonia plants I have spotted in people’s gardens are less likely to be so heavy with ripe fruit as it is, happily, a prime spot for a bird buffet.
Warning: The leaves of the Mahonia plant are not dissimilar to the prickly Holly so do be careful, or wear gloves.
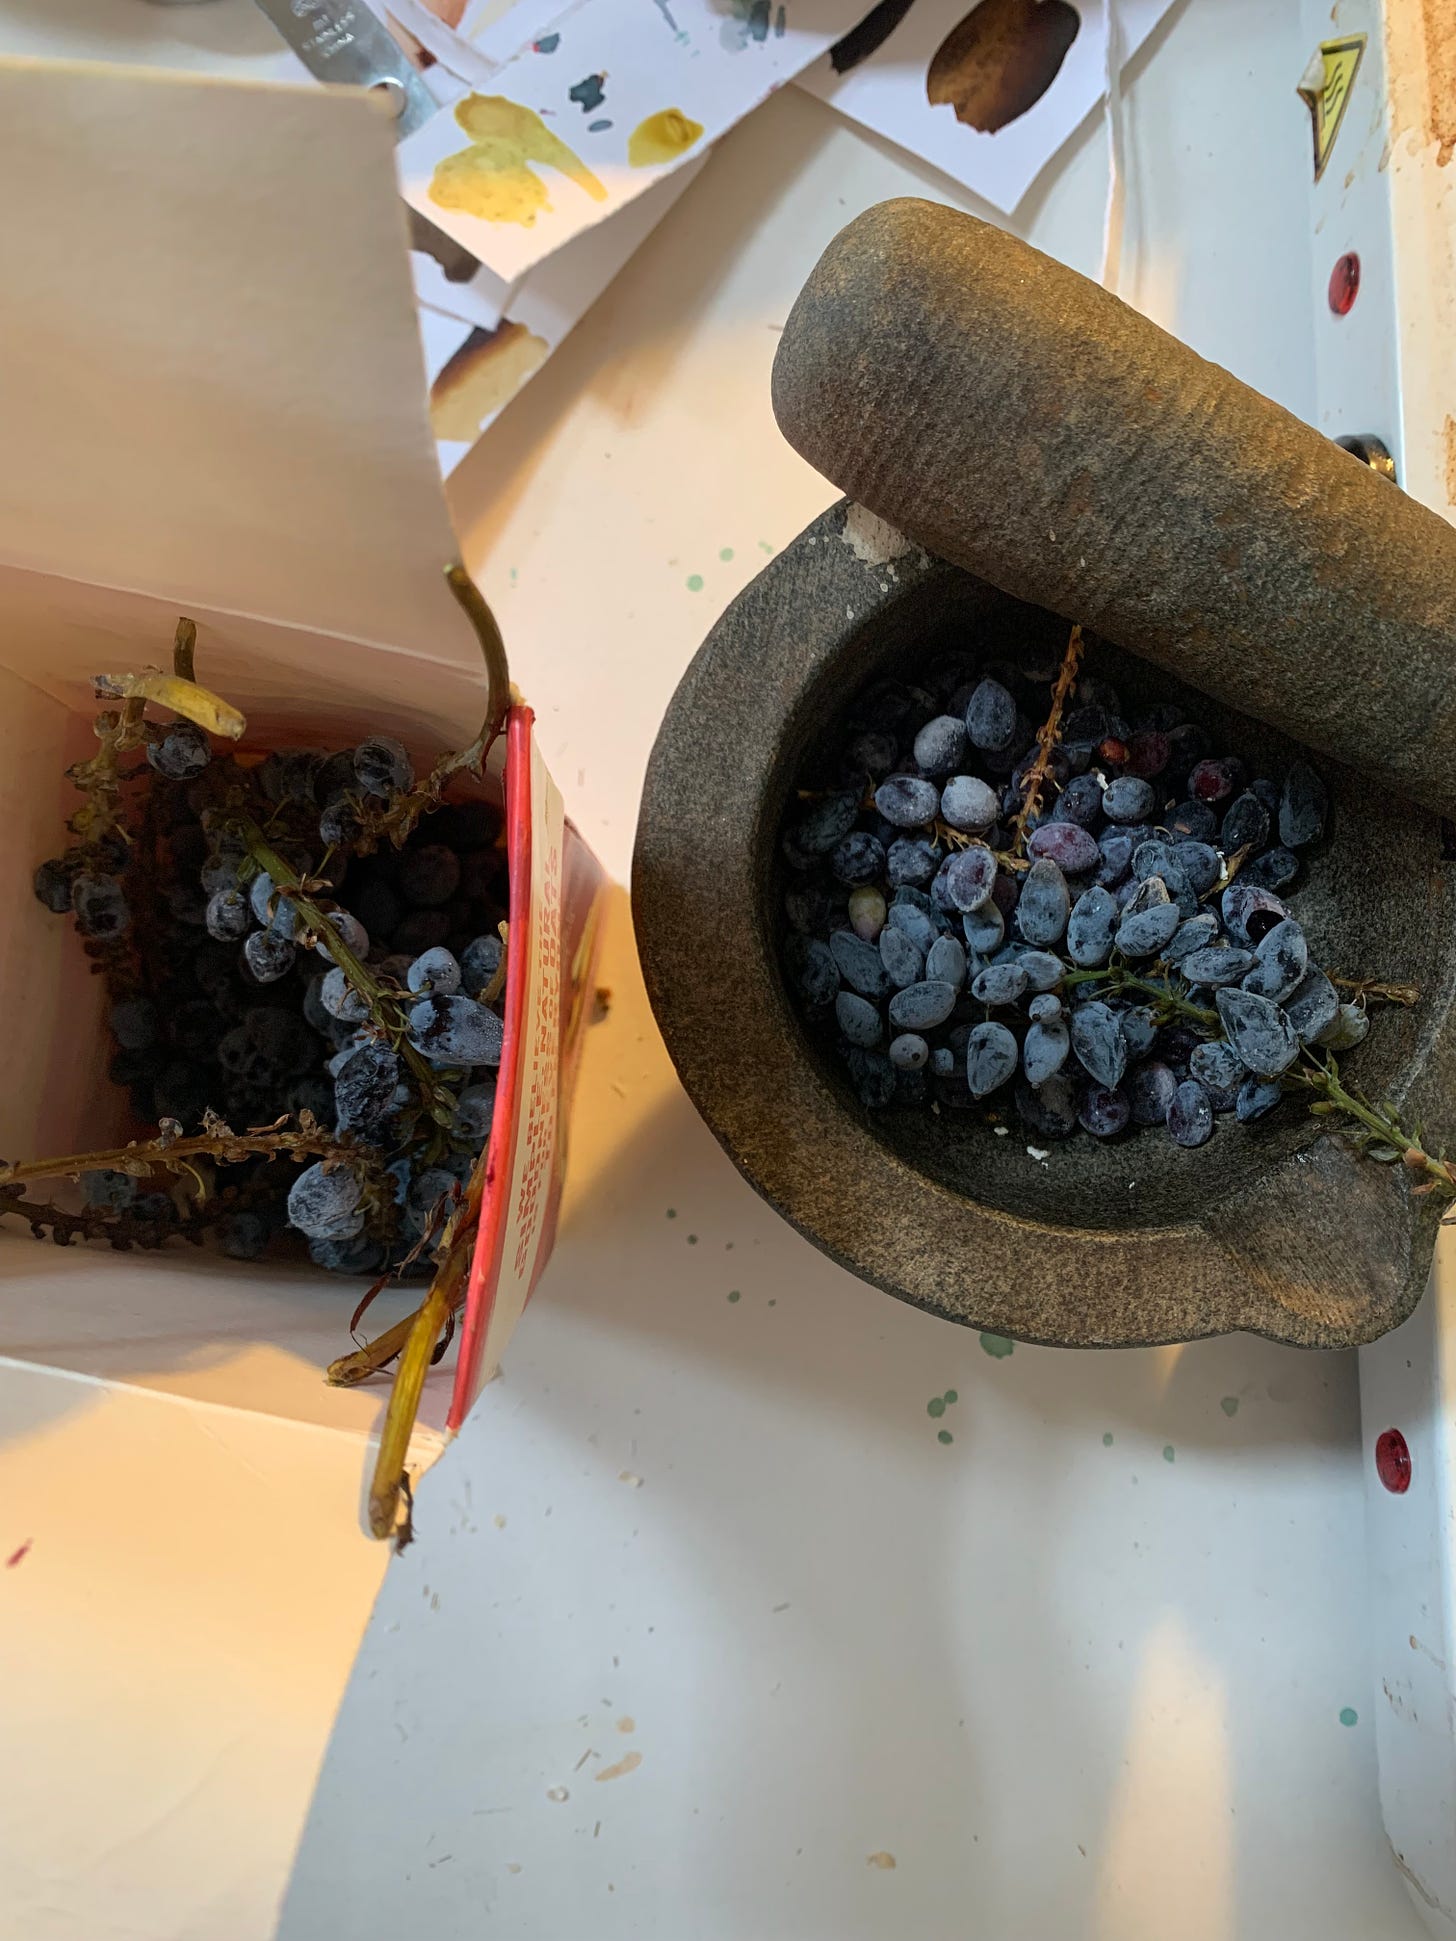
Once you have gathered your berries I recommend freezing them for a day or two before making ink.
This helps with breaking down the colour capillaries (a term I have made up and is highly unscientific, but it does something like this) and assists in creating a deeper colour without so much applied heat.
Next step: Squish the berries. Either in a Pestle + Mortar or by hand. You will straight away be struck by the rich reddy blue of the juice.
Add the heap of berry squish to a small pan and cover with water. Gently heat on a hob. You don’t want the berries to boil, just simmer gently.
Keep the raw material (the berries) covered with water while simmering. For Mahonia you can start testing the plant colour on paper right away*.
Simmer for 15-30 minutes.
*It is debatable whether or not you even need to apply the heat, depending on how much raw material you’re working with. An option is to simply strain the squashed berries through a sieve, and then a piece of muslin (or an old sock/pair of tights) and your ink is halfway to being made! As I work with small quantities of berries to make this ink, I like to add water and simmer a little.
STRAINING
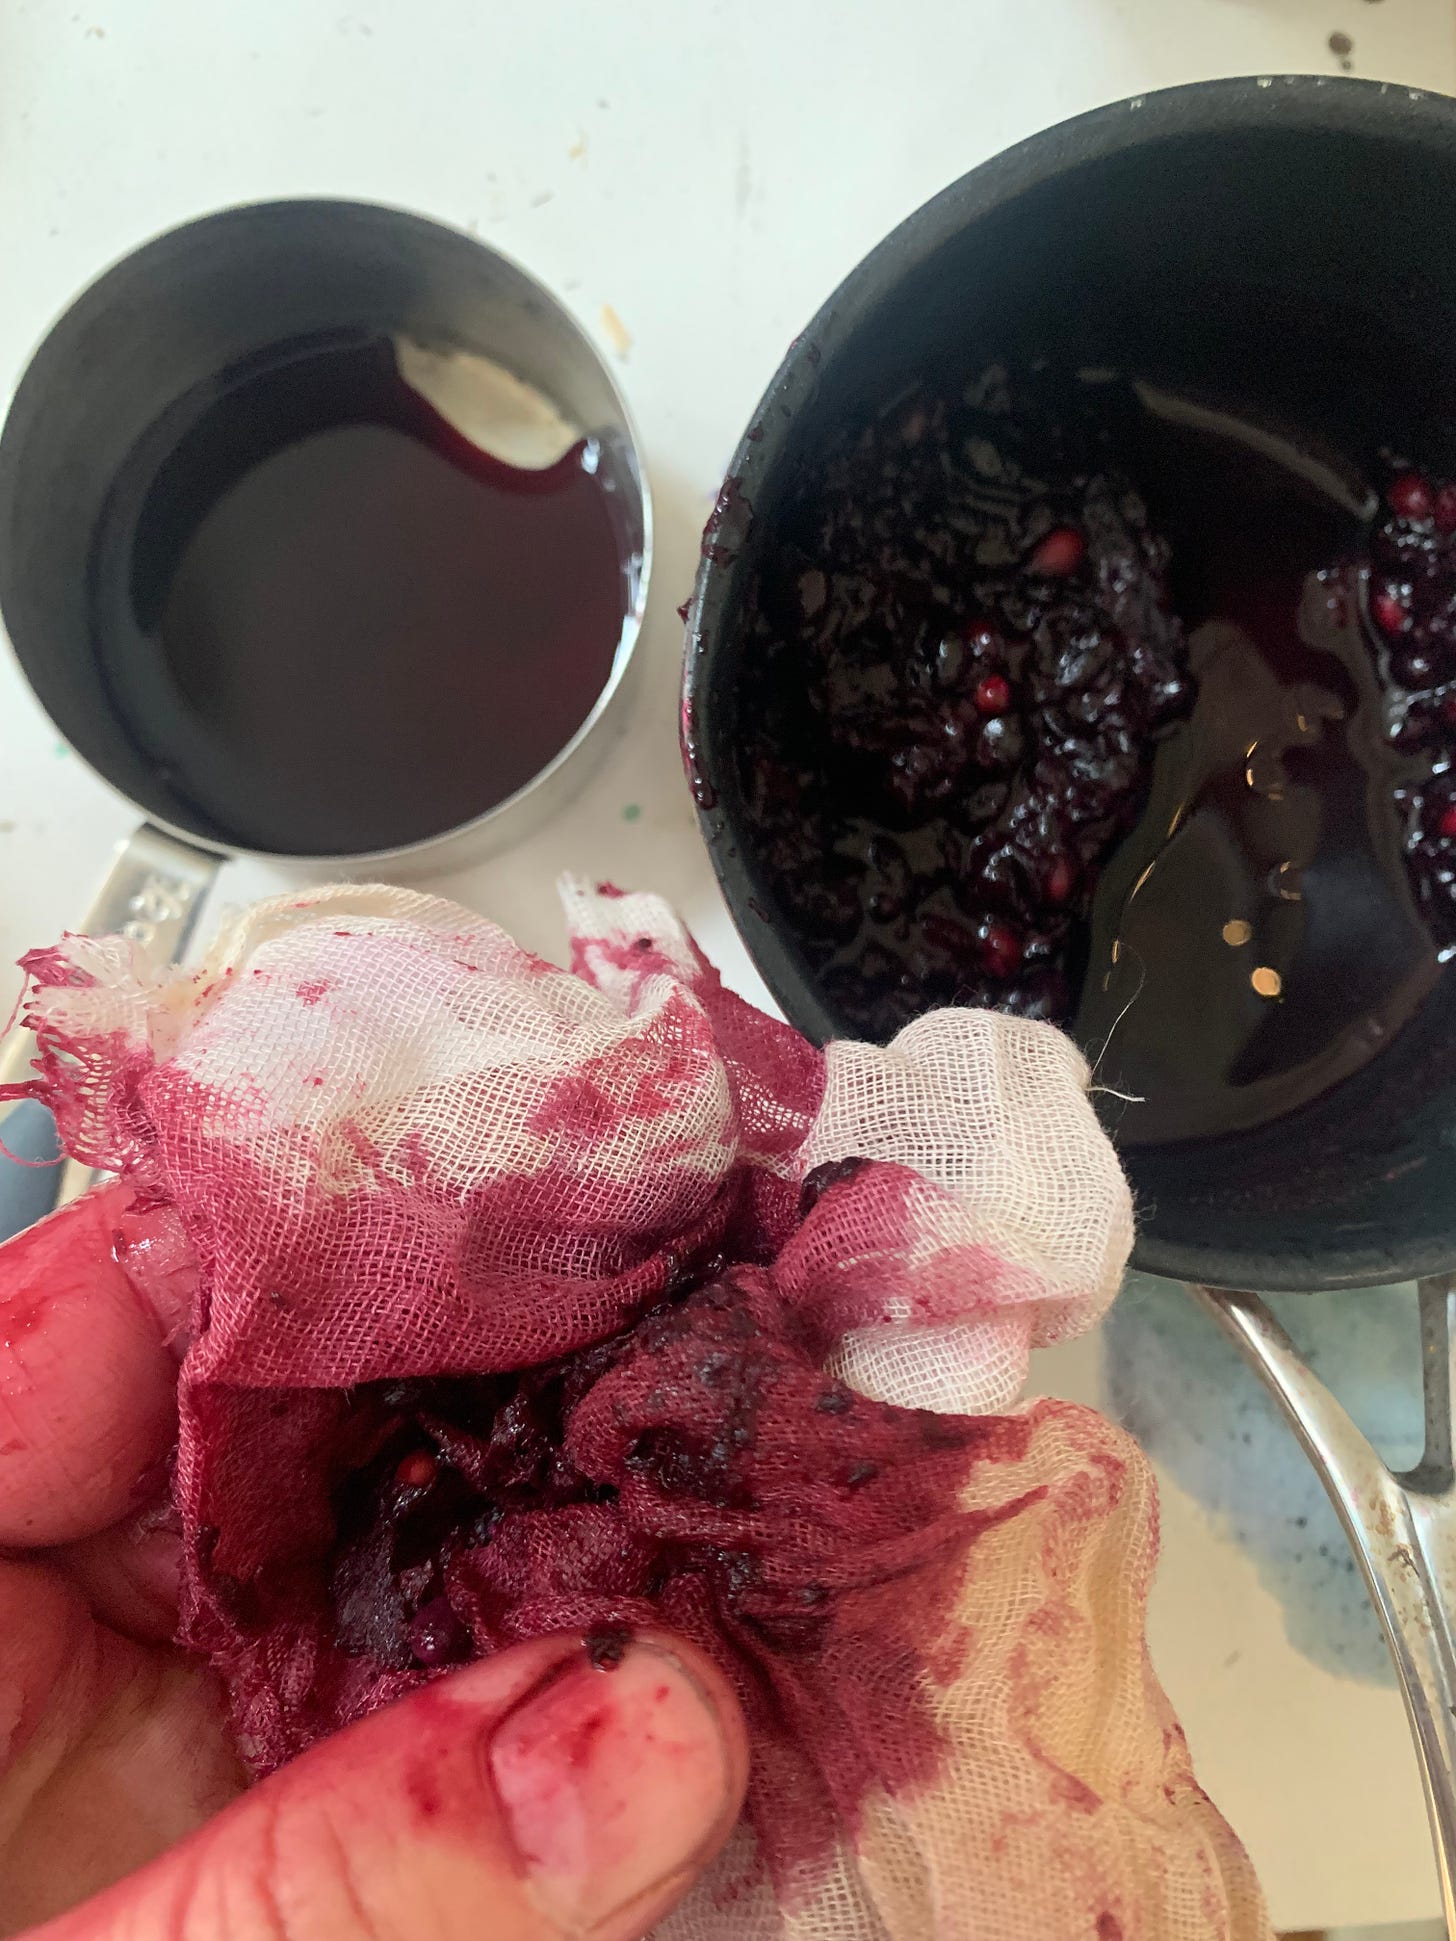
When you have achieved a colour that you’re excited about, you can strain off the colour through a sieve.
Then repeat the add to “pan-cover with water-simmer on the hob” part of the process.
Do this for 15 minutes and strain again.
If you feel there is even more colour to be gleaned from the raw material you can repeat these last few steps again.
This is ensuring you have maximised extracting the most colour from this raw material.
Once you have strained off your raw material for the final time, you will have a jug/pot of coloured berry liquid. You can put the raw material to one side for the compost.
REDUCING
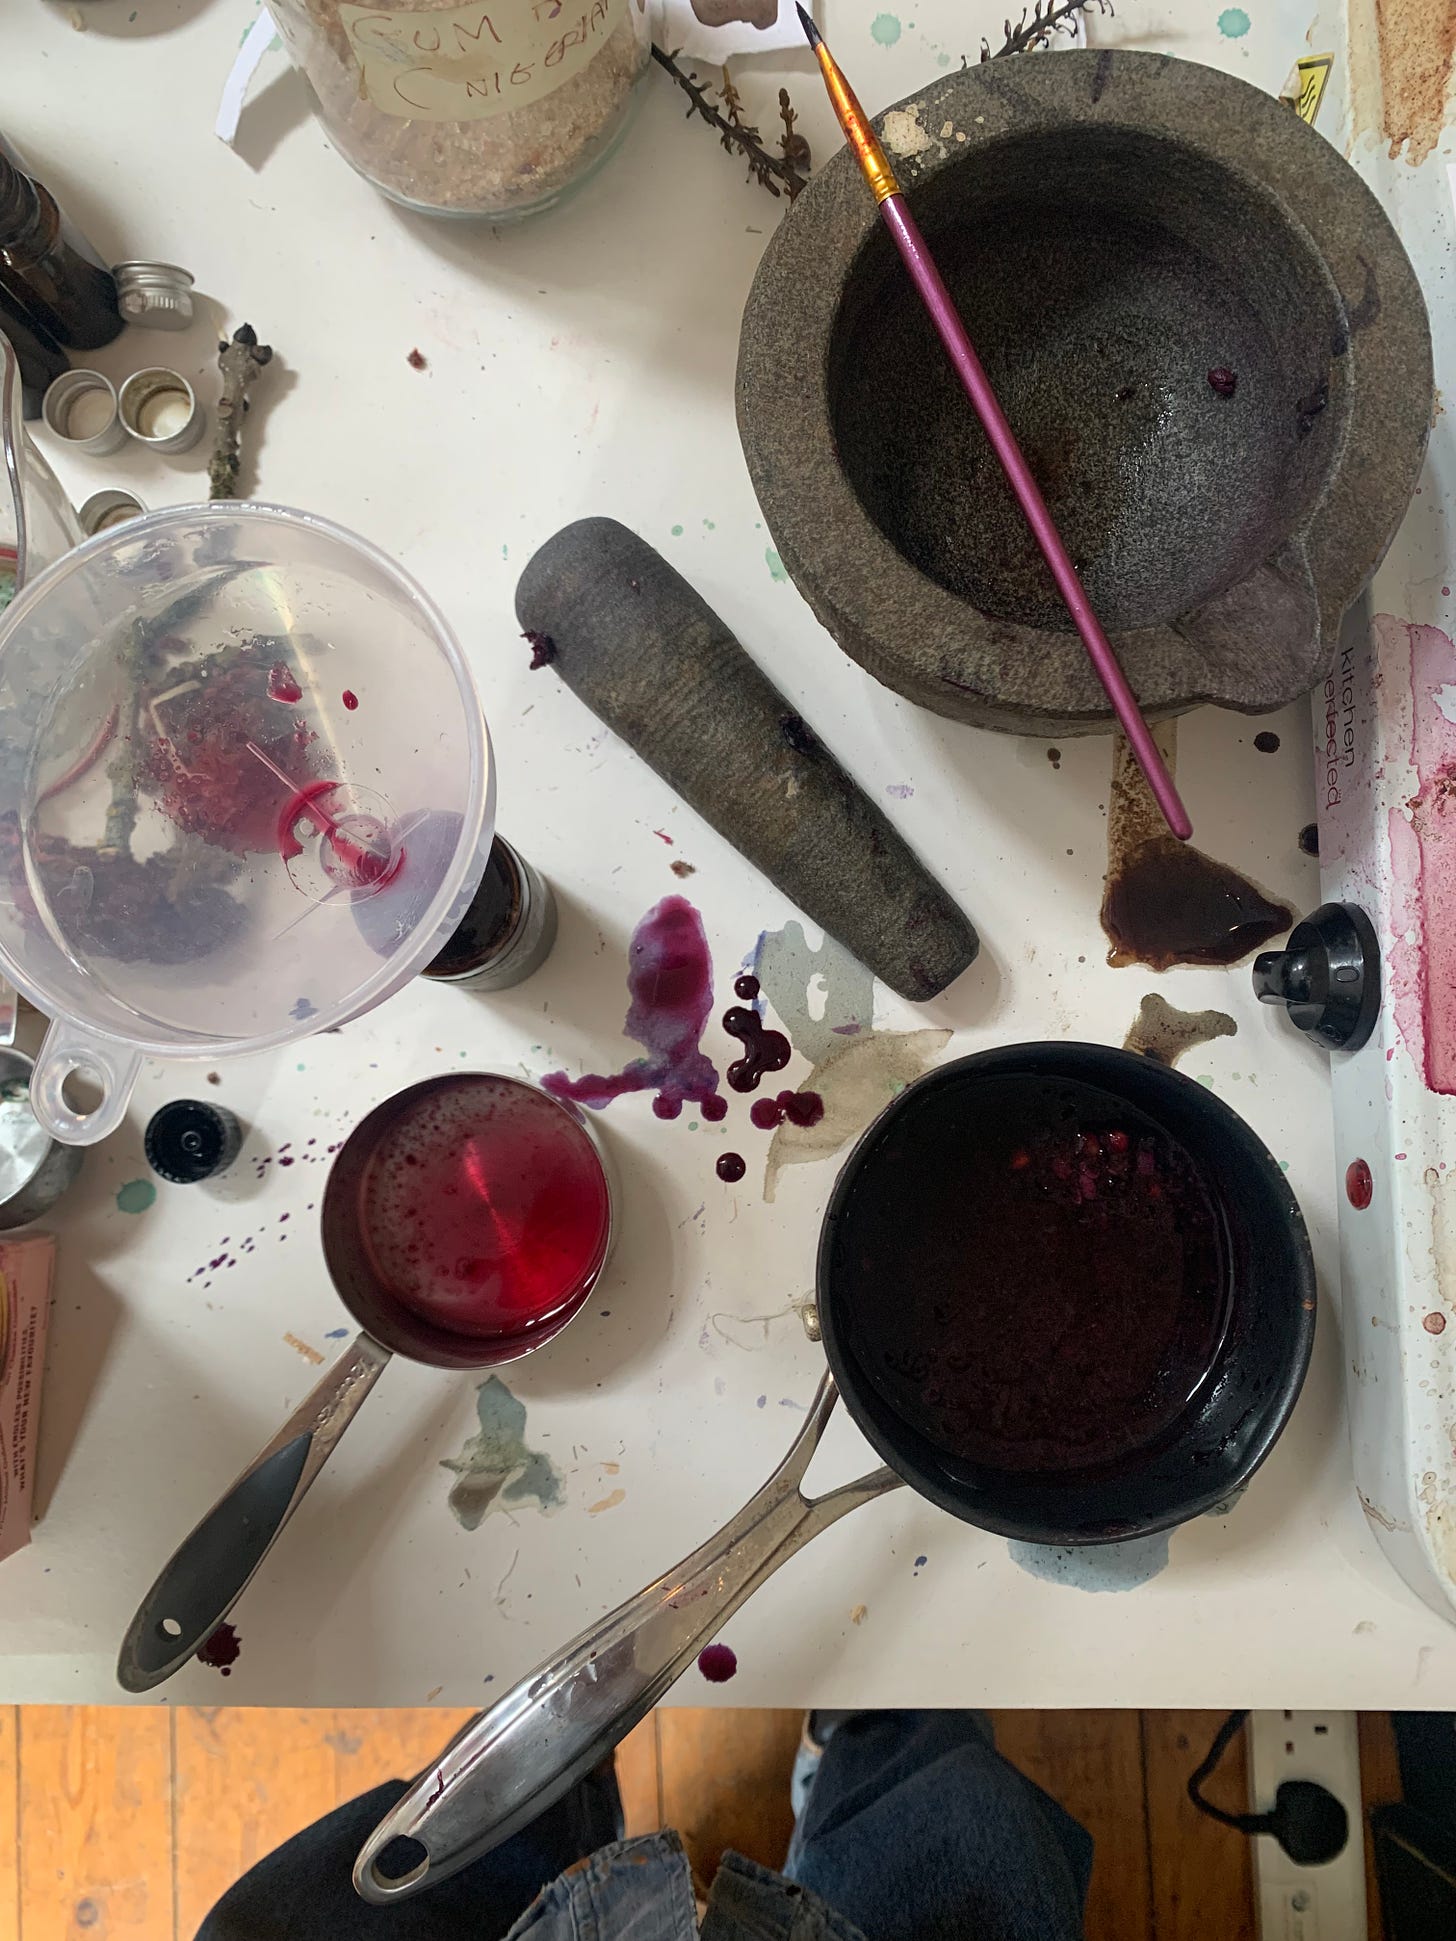
If you wish to deepen the colour of your soon-to-be ink you can add the liquid back to the pan and simmer until your desired colour has been achieved. More colour testing along the way with a brush and some paper.
Add a dash of vinegar and a pinch of salt to support preserving.
Leave coloured liquid to cool.
Strain through muslin/sock to extract any left pieces of berry.
COLOUR TESTING
Pop a clean paintbrush in the pan and test the resulting colour on a sheet of paper. Make a note underneath of whether this test was taken HOT or COLD. The effect the the temperature has on a colour test I find very interesting. You will see this more as you explore ink making with different plants. Also, pop down the time simmered for and any other notes**, if you wish to.
I don’t always do this but it is best practice and RECORDING YOUR FINDINGS is absolutely key in learning to understand the process and plants more. (Note to self.)
**You may find that 20 minutes into a simmer you have a delightful colour and then 30 minutes the colour has washed out. This is unlikely to happen with Mahonia, if you keep the heat low, but good to remember for other plants.
BINDING
For a 30ml bottle of ink you will need to add around 20 drops of binder.
It is good practice to sterilise your bottle before adding ink (like you would when making jam)
Test the ink with your brush or dip pen until you have a consistency of ink that works for you. It is this binding which turns the liquid into an ink, for application on paper or material.
Add a few cloves to see off moulding on top of your ink.
Attach an air-tight lid and voila!
LABELLING
This is one of my favourite things to do!
On a sticky label, a piece of masking tape, or on some card that you will then elegantly attach to the neck of your bottle, write the name of your ink, where the materials were gathered, the date you made the ink and any other notes.
STORING
Store in a cool, dark spot. The fridge is ideal. Be sure to label DO NOT EAT - I AM INK! if you share your fridge with others, especially small humans.
USING
The next step of inky fun times is using your beautifully hand-crafted ink, and this is very much led by you.
COLOUR MAGIC
Some fun things to play with on the page are the colour-shifting modifiers, named in the “for added alchemy” list of ingredients.
I shan’t say too much about those here as it is all about experiencing it for yourself. See for yourselves what happens when you add citric acid, strong alkalines like baking soda, and iron rust (you can begin by soaking any rust you find in a jar with white vinegar for a week or two and use the solution)…. it blows my mind each and every time.
Welcome to the world of NATURAL INK. making, folks/
Let me know how you get on, ping any questions over and send photos of how you get on.
If you would like to make ink together I have two workshops coming up in the coming months:
SUMMER INK. DAY at The Engine Rooms in Bristol.
AUTUMN INK. WEEKEND at The Dove Studios, near Glastonbury in Somerset.
OTHER EVENTS:
I will be popping into Bristol this coming Saturday 18th June for the Solstice Maker Market at The Engine Rooms.
I will also be at Buddhafield Festival the weekend of 13-17th July, with my ink stall and hosting two workshops: Queer Ink.: An earthy writing gathering for Queer folks plus Creativity, Cycles + Colour: Part workshop, part alchemical experiment.
With many blessings and well wishes for your Solstice days in the week ahead. Whether you are in the heights of Northern summer or the depths of Southern winter.
Kathryn x


